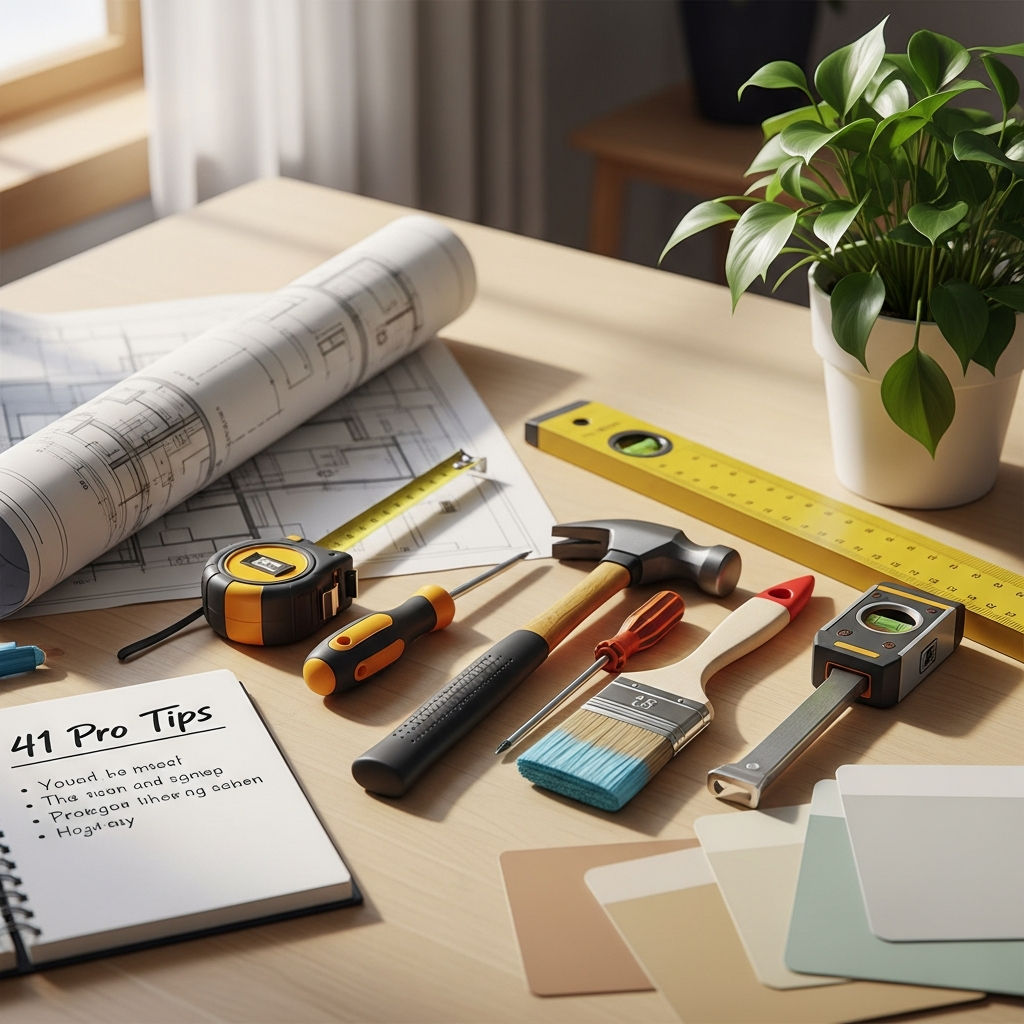
41 Professional Tips to Improve Your Home Improvement Projects
Embarking on a home improvement journey is both exciting and daunting. Whether you are looking to increase your property value for a future sale or simply want to enhance your daily living environment, the right approach makes all the difference. Professional contractors and interior designers have “secrets of the trade” that can save you thousands of dollars and hours of frustration.
In this comprehensive guide, we have compiled 41 professional tips to ensure your home improvement projects are successful, cost-effective, and aesthetically stunning. From initial planning to the finishing touches, here is how you can transform your house into a dream home.
Phase 1: Planning and Budgeting for Success
1. Create a Master Plan
Before picking up a hammer, outline your entire vision. Even if you plan to do projects one at a time, having a master plan ensures that the style and functionality of each room remain cohesive.
2. The 20% Contingency Rule
Unexpected issues—like outdated wiring or water damage—always appear once you open up walls. Always set aside an additional 20% of your total budget for “surprises.”
3. Research Your ROI
If you plan to sell soon, focus on projects with a high Return on Investment (ROI). Minor kitchen remodels and garage door replacements often recoup over 80% of their costs.
4. Know When to DIY vs. Hire a Pro
Be honest about your skills. While painting is a great DIY project, electrical work, plumbing, and structural changes should almost always be left to licensed professionals to ensure safety and code compliance.
5. Verify Permits
Never skip the permitting process. Unpermitted work can lead to fines, issues with insurance claims, and major headaches when you try to sell your home.
Phase 2: The Heart of the Home: Kitchen and Bath
6. Reface, Don’t Replace
If your cabinet boxes are in good shape, simply replacing the doors and drawer fronts (refacing) can give you a brand-new kitchen look at a fraction of the cost.
7. Upgrade the Hardware
Swapping out old, dated cabinet pulls and knobs for modern finishes like brushed brass or matte black is one of the easiest ways to modernize a kitchen or bathroom instantly.
8. Focus on Lighting Layers
Don’t rely on a single overhead light. Use a mix of task lighting (under-cabinet LEDs), ambient lighting (recessed cans), and accent lighting (pendant lights over an island).
9. Install a New Backsplash
A subway tile or mosaic backsplash is a weekend project that adds immense visual appeal and protects your walls from moisture and grease.
10. Update Your Faucets
High-end faucets act as “jewelry” for your sinks. Look for touchless technology and water-saving features for added functionality.
11. Regrout and Recaulk
Old, moldy grout makes a bathroom look dirty even when it’s clean. Removing old caulk and applying a fresh, white bead can make a shower look brand new.
12. Add a Kitchen Island
If space allows, a kitchen island increases prep space and creates a social hub. Even a portable butcher-block island can change the flow of the room.
Phase 3: Painting and Wall Enhancements
13. Neutralize for Value
If you are looking to sell, stick to “greige,” soft whites, or light blues. These colors make rooms feel larger and allow buyers to envision their own furniture in the space.
14. Test Paint Samples in All Lights
Paint looks different at 8 AM than it does at 8 PM. Paint large swatches on different walls and observe them throughout the day before committing.
15. Don’t Forget the Ceiling
A fresh coat of “ceiling white” can brighten a room significantly. Alternatively, painting a ceiling a shade lighter than the walls can create an illusion of height.
16. Use High-Quality Tools
Professional results require professional tools. Invest in high-quality brushes and rollers to avoid streaks, shedding, and uneven application.
17. Add Architectural Interest with Molding
Crown molding, chair rails, or board-and-batten wainscoting adds a level of sophistication and “custom-built” feel to any room.
18. Prep Is 70% of the Job
Sanding, patching holes, and cleaning walls are the most important steps. A great paint job cannot hide a poorly prepared surface.
Phase 4: Flooring and Interior Comfort
19. Refinish Hardwoods
If you have original hardwood floors hidden under carpet, refinishing them is almost always cheaper than installing new flooring and adds significantly more value.
20. Consider Luxury Vinyl Plank (LVP)
For high-traffic or moisture-prone areas, LVP is a game-changer. It is waterproof, durable, and can mimic the look of wood or stone perfectly.
21. Use Area Rugs to Define Spaces
In open-concept homes, area rugs help define “zones” (like the dining area vs. the living area) without the need for walls.

22. Upgrade Your Baseboards
Standard 3-inch baseboards can look cheap. Upgrading to 5-inch or taller baseboards gives a room a more upscale, modern finish.
23. Fix the Squeaks
Squeaky floors are a nuisance. Use specialized floor screws to tighten subfloors before laying down new carpet or laminate.
Phase 5: Curb Appeal and Exterior Maintenance
24. The Power of a Front Door
Your front door is the focal point of your home’s exterior. Paint it a bold, welcoming color like navy blue, deep red, or sage green.
25. Pressure Wash Everything
Pressure washing your siding, driveway, and sidewalks can take years of grime off your home’s appearance in just one afternoon.
26. Low-Maintenance Landscaping
Focus on perennial plants that come back every year. Use mulch to keep weeds down and give your flower beds a finished look.
27. Update House Numbers
Replace dated, plastic house numbers with modern, metal versions. It’s a small detail that makes a big difference in “curb appeal.”
28. Install Outdoor Lighting
Solar path lights and LED spotlights for trees or architectural features make your home safer and more attractive at night.
29. Clean Your Gutters
This isn’t glamorous, but it’s essential. Functioning gutters prevent foundation issues and water damage to your siding.
30. Repair the Mailbox
A leaning or rusted mailbox sends a signal of neglect. A new mailbox and post are inexpensive and easy to install.
Phase 6: Efficiency and Smart Home Integration
31. Upgrade to a Smart Thermostat
Devices like Nest or Ecobee save you money on energy bills and allow you to control your home’s climate from your phone.
32. Seal Air Leaks
Use weatherstripping around doors and caulk around windows. This is one of the most cost-effective ways to improve home comfort.
33. Switch to LEDs
Replace every bulb in your house with LEDs. They last longer, use less energy, and offer better color temperature options.
34. Insulate the Attic
Proper insulation is the key to keeping your home warm in the winter and cool in the summer. Check your local building codes for recommended R-values.
35. Install Smart Locks
Keyless entry is convenient and adds a layer of security. You can provide temporary codes for guests or service workers.
Phase 7: Organization and Finishing Touches
36. Maximize Closet Space
Install closet organization systems. Adding a second rod or built-in shelving can double your usable storage space.
37. Utilize Vertical Space
In small rooms, use tall bookshelves or wall-mounted floating shelves to keep the floor clear and create an airy feeling.
38. Hide Your Cords
Nothing ruins a clean aesthetic like a tangle of black wires. Use cord covers or “in-wall” kits to hide TV and computer cables.
39. Swap Out Switch Plates
Replace dirty or cracked plastic switch plates with high-quality metal or screwless covers for a polished look.
40. Add Window Treatments
Drapes and blinds aren’t just for privacy; they add texture and softness to a room. Hang curtains “high and wide” to make windows appear larger.
41. Declutter Before You Decorate
The best home improvement is often simply removing what doesn’t belong. A clean, organized space allows your renovation work to truly shine.
Conclusion
Home improvement doesn’t always require a massive demolition or a six-figure budget. By applying these 41 professional tips, you can tackle projects strategically, ensuring every dollar spent adds beauty, function, and value to your property. Remember, the key to a successful renovation is 90% preparation and 10% execution. Start small, stay organized, and enjoy the process of making your home uniquely yours.